
Sourdough Bread Recipe: Your Definitive Guide to Baking Artisan Loaves at Home
There's a unique magic that comes with baking your own sourdough bread. The earthy aroma filling your kitchen, the satisfying crackle of a perfectly golden crust, the complex, tangy flavor of the crumb – it's an experience that transcends mere sustenance. Sourdough isn't just bread; it's a living creation, a testament to time, patience, and the incredible power of natural fermentation.
For centuries, bakers have harnessed the wild yeasts and bacteria present in a sourdough starter to create loaves of unparalleled depth and character. This traditional method not only imparts a distinctive taste but also aids in digestibility, making it a beloved staple for many. If you've ever dreamt of pulling a magnificent, professional-looking loaf from your own oven, this sourdough bread recipe is your comprehensive guide.
We understand that the world of sourdough can seem daunting at first, with its specific terminology and long proofing times. But fear not! This detailed, step-by-step sourdough bread recipe is designed to demystify the process, empowering both novice and experienced bakers alike to achieve outstanding results. We'll walk you through every stage, from preparing your active starter to scoring and baking, ensuring you gain the confidence to bake beautiful artisan bread every time. Get ready to embark on a rewarding journey that culminates in the most delicious, wholesome loaf you've ever tasted.
Ingredients: Crafting Your Masterpiece Loaf
The beauty of sourdough bread lies in its simplicity. With just a few high-quality ingredients and an active sourdough starter, you're well on your way to baking perfection. Precision is key in baking, especially with sourdough, so we highly recommend using a digital kitchen scale for all measurements.
For the Dough (Yields one 900-1000g loaf)
- Active Sourdough Starter: 100 grams (fed 4-12 hours prior and very active/bubbly)
- Internal Link Opportunity: "Learn how to create and maintain your own sourdough starter."
- Warm Water: 350 grams (approximately 90-95°F or 32-35°C)
- All-Purpose or Bread Flour: 450 grams (high-quality, unbleached, unbromated)
- (Note: Bread flour offers a slightly higher protein content, leading to a chewier crumb, but all-purpose works wonderfully too.)
- Fine Sea Salt: 9 grams (approximately 1 ½ teaspoons)
Essential Equipment
- Large Mixing Bowl: For combining ingredients and bulk fermentation.
- Dough Scraper: Indispensable for handling sticky dough and shaping.
- Digital Kitchen Scale: For accurate measurements.
- Banneton Basket (Proofing Basket) or Bowl lined with a floured kitchen towel: For the final proof.
- Dutch Oven with Lid: Crucial for achieving that incredible crust and oven spring. A heavy-bottomed pot with a lid that can withstand high temperatures will also work.
- Sharp Blade or Lame: For scoring the dough.
- Plastic Shower Cap or Plastic Wrap: To cover the dough during bulk fermentation.
- Parchment Paper: For easily transferring dough to the Dutch oven.
Step-by-Step Instructions: Mastering Your Sourdough Bread Recipe
Baking sourdough is a journey of patience and observation. Follow these detailed steps for a truly rewarding experience with your homemade sourdough bread recipe. Remember, times are approximate and will vary based on your kitchen temperature and starter's activity.
Phase 1: Preparing Your Active Sourdough Starter (Night Before or Morning Of)
- Feed Your Starter: The night before or 4-12 hours before you plan to mix your dough, feed your sourdough starter. Aim for a 1:1:1 ratio (e.g., 50g starter, 50g water, 50g flour). Your starter should be bubbly, active, and pass the "float test" (a small dollop floated in water should float on top) when you're ready to use it. This is paramount for a successful sourdough bread recipe.
Phase 2: Mixing the Dough – Autolyse and Initial Mix (Morning/Early Afternoon)
Autolyse (30 Minutes - 1 Hour)
- Combine Flour and Water: In your large mixing bowl, combine 450 grams of flour with 350 grams of warm water. Mix with your hands or a Danish dough whisk until no dry spots remain and a shaggy dough forms. Do not knead at this stage.
- Rest: Cover the bowl with a plastic shower cap or plastic wrap and let it rest for 30 minutes to 1 hour. This process, called autolyse, allows the flour to fully hydrate and gluten to begin developing naturally, making the dough easier to work with later.
Incorporating Starter and Salt (10-15 Minutes)
- Add Starter: After the autolyse, add 100 grams of active sourdough starter directly on top of the dough. Gently dimple it in with your fingers, then begin to fold and squeeze the dough to fully incorporate the starter. It will feel messy and sticky at first. Continue until the starter is evenly distributed throughout the dough, about 3-5 minutes.
- Add Salt: Sprinkle 9 grams of fine sea salt over the dough. Again, work it in by folding and squeezing the dough for another 3-5 minutes, ensuring the salt is evenly distributed. The dough will become slightly firmer as the salt is incorporated.
- Initial Shaping: Once everything is incorporated, gather the dough into a loose ball. Cover the bowl again.
Phase 3: Bulk Fermentation & Stretch and Folds (3-5 Hours)
This is a crucial stage where the yeast and bacteria in your starter work their magic, developing flavor and strength. The duration of bulk fermentation depends heavily on your kitchen temperature. Warmer temperatures (75-80°F / 24-27°C) will shorten the time, while cooler temperatures will extend it. Aim for about a 20-30% increase in dough volume.
Performing Stretch and Folds (4 Sets, every 30-45 minutes)
- First Set (30 minutes after initial mix): Lightly wet your hands. Grab a portion of the dough from one side, stretch it upwards, and fold it over to the opposite side of the bowl. Rotate the bowl 90 degrees and repeat this action 3 more times, effectively performing 4 "stretch and folds" to cover all sides. The dough will feel loose. Cover and rest.
- Second Set (30-45 minutes later): Repeat the stretch and fold process. You'll notice the dough is starting to gain some elasticity and strength.
- Third Set (30-45 minutes later): Repeat. The dough should now be noticeably smoother and more elastic, holding its shape better after each fold.
- Fourth Set (30-45 minutes later): Repeat. At this point, the dough should feel strong, smooth, and springy.
- Final Rest: After the fourth set, cover the dough and let it rest for the remainder of the bulk fermentation, usually another 1-2 hours, until it has increased in volume by about 20-30% and shows signs of activity (small bubbles on the surface).
Phase 4: Pre-Shaping (15-20 Minutes)
- Prepare Work Surface: Lightly flour your work surface.
- Release Dough: Gently scrape the dough out of the bowl onto your floured surface. Avoid degassing it too much.
- Round the Dough: Using your dough scraper and hands, gently shape the dough into a loose round. Avoid excessive handling. The goal is to create some surface tension.
- Bench Rest: Cover the pre-shaped dough with the mixing bowl or a clean kitchen towel and let it rest for 15-20 minutes. This allows the gluten to relax, making the final shaping easier.
Phase 5: Final Shaping & Cold Proofing (Overnight / 12-18 Hours)
Shaping the Loaf
- Prepare Banneton: Heavily flour your banneton basket or a bowl lined with a floured kitchen towel. Use rice flour if you have it, as it's less likely to stick.
- Flip Dough: Gently flip the rested dough over so the sticky side is facing up.
- Shape: Perform your final shaping. There are many techniques, but a common one involves gently stretching the dough into a rough rectangle, folding the top third down, then the bottom third up, then rolling it tightly from one end to the other to create a tight cylinder. Or, for a boule (round loaf), gently fold the edges into the center to create a tight ball, flipping it over and using your hands to create surface tension by dragging it towards you. The goal is to create a taut skin on the outside of the dough.
- Place in Banneton: Carefully transfer the shaped dough, seam-side up, into your prepared banneton or floured bowl. The seam-side up will become the bottom of your loaf during baking.
- Cover: Cover the banneton with a plastic shower cap or place it inside a large plastic bag.
Cold Proofing (Retarding)
- Refrigerate: Place the covered banneton in the refrigerator for 12-18 hours (or even up to 24 hours). This slow, cold proof develops deeper flavors, makes the dough easier to handle, and improves the crust and oven spring. This is a critical step for a truly artisan sourdough bread recipe.
Phase 6: Baking Your Sourdough Bread (Morning of Day 2)
Preheating Your Oven and Dutch Oven
- Preheat Oven: About 1 hour before you plan to bake, place your empty Dutch oven with its lid inside your oven. Preheat the oven to 500°F (260°C). Allowing ample time for the Dutch oven to get screaming hot is essential for a great crust and spring.
Scoring and Baking
- Prepare to Bake: Once the oven is fully preheated, carefully remove the hot Dutch oven from the oven. Be extremely cautious as it will be very hot.
- Transfer Dough: Place a piece of parchment paper on your counter. Gently invert your cold, proofed dough from the banneton onto the parchment paper.
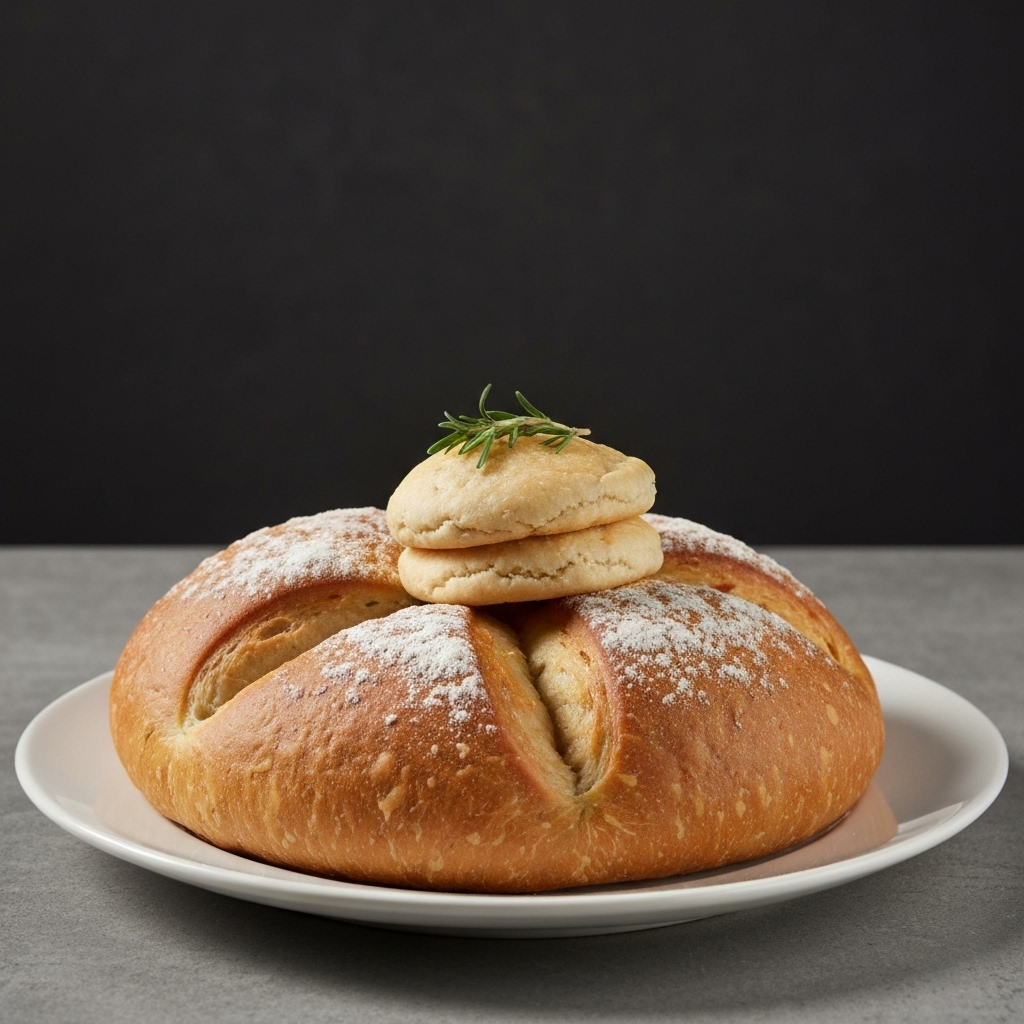
- Score the Dough: Using a sharp blade or lame, score the top of the dough. A single deep slash (about ½ inch deep) at a slight angle across the top is classic and allows for maximum oven spring. You can also create more intricate designs.
- Bake with Lid On: Carefully lift the parchment paper with the dough and gently lower it into the hot Dutch oven. Place the lid back on.
- First Bake (Lid On): Bake for 20 minutes at 500°F (260°C). The steam trapped by the lid is crucial for preventing a crust from forming too quickly, allowing the dough to expand and achieve excellent "oven spring."
- Second Bake (Lid Off): After 20 minutes, carefully remove the lid from the Dutch oven. Reduce the oven temperature to 450°F (230°C).
- Continue Baking: Bake for another 25-30 minutes, or until the crust is a deep, golden brown and sounds hollow when tapped on the bottom. If you have a thermometer, the internal temperature should be around 200-210°F (93-99°C).
Phase 7: Cooling (2-4 Hours)
- Cool Completely: Once baked, carefully remove the loaf from the Dutch oven and transfer it to a wire rack to cool completely. This is perhaps the hardest step, but absolutely essential. Cutting into a warm sourdough loaf will result in a gummy texture. Resist the urge! Let it cool for at least 2-4 hours before slicing.
Cooking Tips & Variations for Your Sourdough Bread Recipe
Elevate your sourdough game with these expert tips and exciting variations.
Essential Tips for Sourdough Success
- Understand Your Starter: A healthy, active starter is the backbone of any great sourdough bread recipe. It should double (or more) in size after feeding, have a pleasant tangy smell, and be full of bubbles. If it's sluggish, feed it more frequently or keep it in a warmer spot for a few days.
- Internal Link Opportunity: "Troubleshooting common sourdough starter issues."
- Temperature Matters: Kitchen temperature significantly impacts fermentation times. In a warm kitchen, your dough will ferment faster; in a cool one, it will take longer. Learn to "read" your dough rather than strictly sticking to times. Look for visual cues like increased volume and air bubbles.
- Hydration Levels: This recipe uses a moderate hydration level (around 78%), which is great for beginners. As you gain experience, you can experiment with slightly higher hydration for an even more open crumb, but be aware it will be stickier and harder to handle.
- Don't Fear the Stickiness: Sourdough dough, especially at higher hydration, can be quite sticky. Resist the urge to add too much extra flour during mixing or shaping. Use lightly wet hands or a well-floured dough scraper instead.
- Practice Scoring: Scoring isn't just for aesthetics; it guides where the loaf expands in the oven. Practice with a sharp blade. A confident, quick cut is better than a hesitant one.
- Don't Underproof or Overproof: Underproofed dough won't have much oven spring and will result in a dense crumb. Overproofed dough will spread out in the oven and lack structure. Aim for that 20-30% volume increase during bulk ferment and a noticeable "give" when gently pressed during cold proofing.
Flavorful Sourdough Variations
- Whole Wheat Sourdough: Substitute 50-100 grams of the all-purpose/bread flour with whole wheat flour for a nuttier flavor and denser crumb. You might need to add an extra 10-20 grams of water as whole wheat absorbs more liquid.
- Rye Sourdough: Introduce 30-50 grams of rye flour for a distinct, earthy tang. Rye flour is lower in gluten, so don't use too much unless you're familiar with its properties.
- Seeded Sourdough: During the final mix or the second set of stretch and folds, incorporate 30-50 grams of mixed seeds (e.g., flax, sunflower, pumpkin, sesame). Toasting them lightly beforehand enhances their flavor.
- Cheese & Herb Sourdough: Add 50-70 grams of shredded hard cheese (like cheddar or Gruyere) and 1-2 tablespoons of fresh or dried herbs (rosemary, thyme) during the second or third set of stretch and folds.
- Garlic Sourdough: Roast a head of garlic, mash the cloves, and mix them into the dough during the second set of stretch and folds.
Nutritional Information (Estimated Per Serving)
While exact nutritional information for homemade sourdough can vary based on specific flour, starter activity, and loaf size, here's an approximate breakdown for a slice (assuming 15 slices per loaf, approximately 60-65g per slice):
- Calories: 180-220 kcal
- Protein: 7-9g
- Fat: 1-2g
- Carbohydrates: 35-40g
- Fiber: 2-3g
- Sodium: 250-300mg
Disclaimer: These values are estimates and should not be considered definitive medical or nutritional advice. Homemade sourdough is often considered more digestible due to the fermentation process which breaks down gluten and phytic acid.
Storage & Serving Suggestions
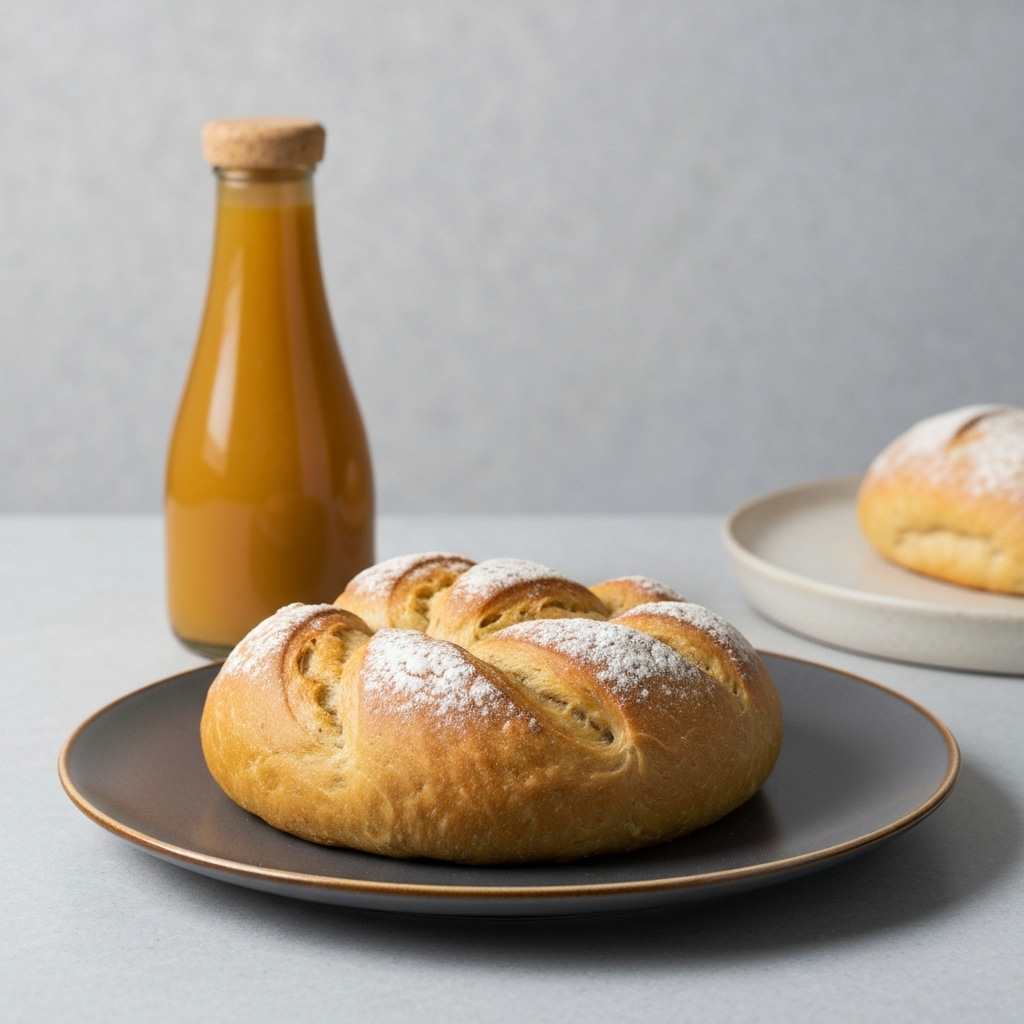
You've put in the effort, now enjoy your beautiful, freshly baked sourdough bread!
Storing Your Homemade Sourdough Bread
- Room Temperature (1-2 days): For optimal freshness, store your whole, uncut loaf cut-side down on a cutting board, or wrapped in a clean linen towel. This protects the cut surface from drying out. Avoid airtight containers for whole loaves as they can soften the crust.
- Room Temperature (3-5 days): Once cut, place the loaf in a paper bag or a breathable bread bag. An airtight container can make the crust soft over time, but will keep the crumb from drying out as quickly.
- Freezing (Up to 3 months): Sourdough freezes beautifully!
- Whole Loaf: Allow to cool completely, then wrap tightly in plastic wrap, followed by aluminum foil. Thaw at room temperature for several hours or overnight. Reheat in a 350°F (175°C) oven for 10-15 minutes for a refreshed crust.
- Sliced: Slice the cooled loaf, then flash freeze the slices on a baking sheet before transferring them to a freezer-safe bag or container. This allows you to grab individual slices as needed for toast.
Creative Serving Ideas
- Classic Toast: Simply toast slices and slather with butter, jam, or your favorite avocado spread.
- Open-Faced Sandwiches: The sturdy crust holds up beautifully to hearty toppings like roasted vegetables, cheeses, or cured meats.
- Bruschetta & Crostini: Slice thinly, toast lightly, and top with fresh tomatoes, basil, garlic, and olive oil for bruschetta, or an array of other creative crostini toppings.
- With Soups & Stews: The perfect accompaniment to soak up rich broths and sauces.
- Cheese Board Star: A robust sourdough loaf is the ideal anchor for any charcuterie or cheese spread.
- Garlic Bread: Brush slices with melted garlic butter and bake until golden.
- French Toast: Use slightly stale sourdough for an amazing, tangy French toast.
FAQ: Common Sourdough Bread Questions
Navigating the world of sourdough can bring up many questions. Here are answers to some of the most common ones beginners ask when following a sourdough bread recipe.
Common Sourdough Bread Questions
- Q: What if my sourdough starter isn't active enough?
- A: An inactive starter is the most common reason for dense sourdough. Ensure your starter has been fed recently (4-12 hours before use) and is visibly bubbly, has increased in volume, and passes the float test. If it's still sluggish, feed it 1-2 times daily for a few days in a slightly warmer spot until it's robust.
- Q: Why is my sourdough bread dense and not airy?
- A: Density can stem from several issues: an inactive starter, insufficient bulk fermentation (underproofed), too much flour added during shaping, or not enough oven spring due to insufficient steam or a cold Dutch oven. Review your starter's activity, bulk fermentation cues, and ensure your Dutch oven is properly preheated.
- Q: How long does it really take to make sourdough bread?
- A: While active hands-on time is relatively short (around 30-45 minutes spread over two days), the total process, including starter feeding, autolyse, bulk fermentation, cold proofing, and baking, spans approximately 24-36 hours. The majority of this is passive time.
- Q: Can I make sourdough bread without a Dutch oven?
- A: Yes, a Dutch oven is highly recommended for its ability to trap steam and create an excellent crust and oven spring. However, you can mimic this effect by baking on a preheated baking steel or stone and creating steam in your oven (e.g., by placing a pan of boiling water on the bottom rack or spraying the oven walls). The results might vary slightly.
- Q: My dough is too sticky to handle. What should I do?
- A: Stickiness is normal for high-hydration sourdough. Resist adding too much extra flour. Instead, lightly wet your hands for stretch and folds, or use a bench scraper for handling and shaping. As you develop gluten through folds, the dough will become less sticky.
- Q: Can I bake sourdough bread the same day I mix it?
- A: While technically possible, skipping the cold proofing (retarding) step means you'll miss out on the deep flavor development and the ease of handling a cold dough. Your loaf might also have less dramatic oven spring and a softer crust. It's highly recommended to include the cold proof.
- Q: How do I know when my sourdough is fully baked?
- A: A perfectly baked sourdough loaf will have a deep golden-brown, sturdy crust and sound hollow when tapped on the bottom. If you use a thermometer, the internal temperature should register between 200-210°F (93-99°C).
Conclusion: Your Journey to Sourdough Mastery Begins Here
Congratulations! You've just completed a deep dive into the truly rewarding world of baking homemade sourdough bread. This sourdough bread recipe is more than just instructions; it's an invitation to connect with a timeless culinary tradition, to slow down, and to create something truly magical with your own hands.
Remember, every loaf tells a story – a story of your kitchen's unique environment, your starter's personality, and your growing skills as a baker. Don't be discouraged if your first few loaves aren't "perfect." Each attempt is a learning opportunity, bringing you closer to understanding the nuances of dough and fermentation. The satisfaction of pulling a beautiful, fragrant loaf from your oven, knowing you made it from scratch, is unparalleled.
We encourage you to embrace the process, trust your instincts, and most importantly, enjoy the delicious fruits of your labor. Share your sourdough journey with us! What was your favorite part of this sourdough bread recipe? Do you have any unique tips or variations? Leave a comment below and inspire fellow bakers on their path to sourdough mastery. Happy baking!